Setting your system up
Get the list of installed packages
From the official repository:
From Arch User Repository (AUR)
Boot up from a USB Live distro
Once you are ready to start formatting your drives, you can use the following steps:
1 – Boot up from the USB Live distro
Select the option with default settings if your RAM capacity is enough to load the OS, otherwise, select the option with the lowest RAM requirements:
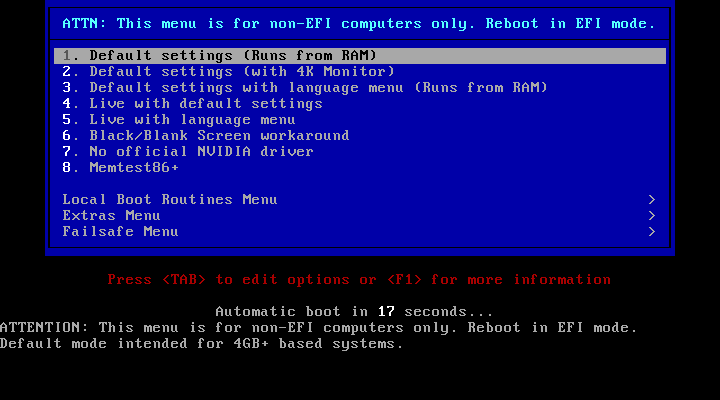
After a few minutes loading the OS to the RAM, you will see the following screen:
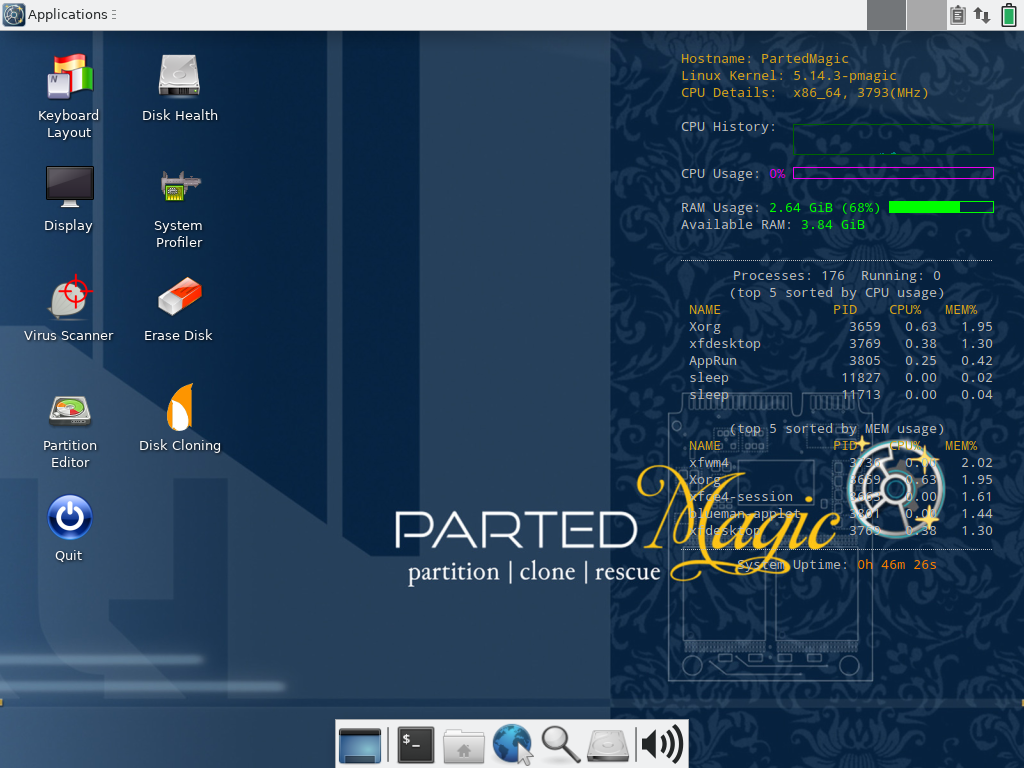
2 – Open Partition Editor (aka GParted)
Gparted is a graphical partition editor that allows you to create, delete, resize, move, check and copy partitions, and the file systems on them. Our next step is to open GParted and create a new partition table. If your system has a BIOS, select msdos. If your system has UEFI, select gpt.
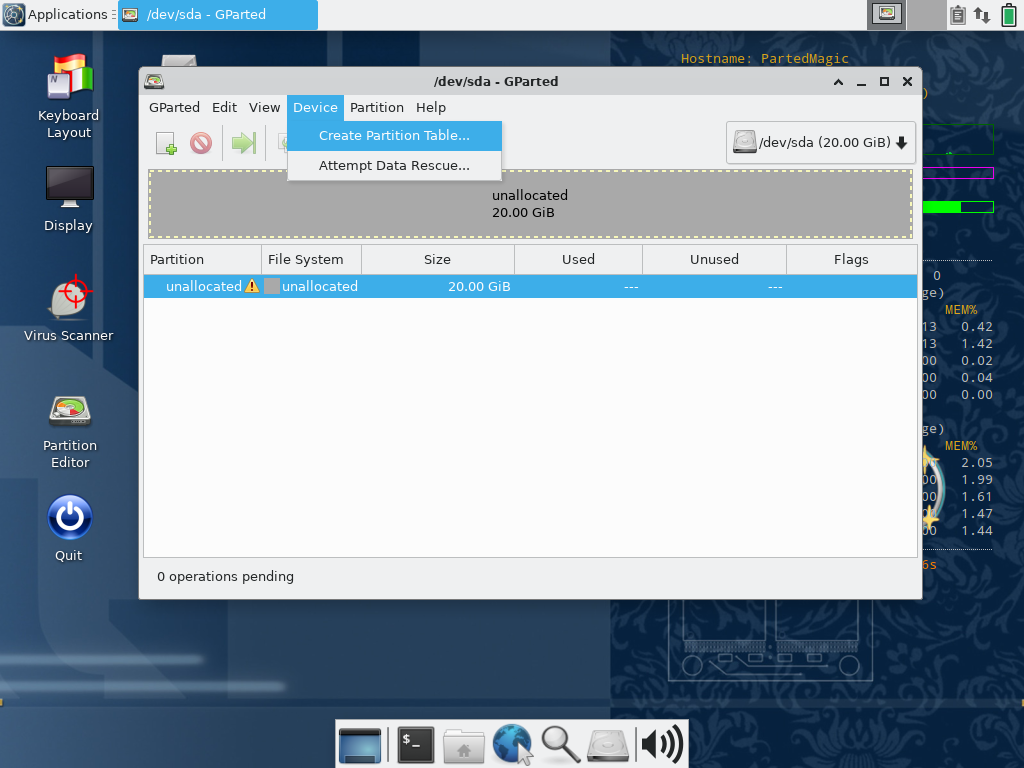
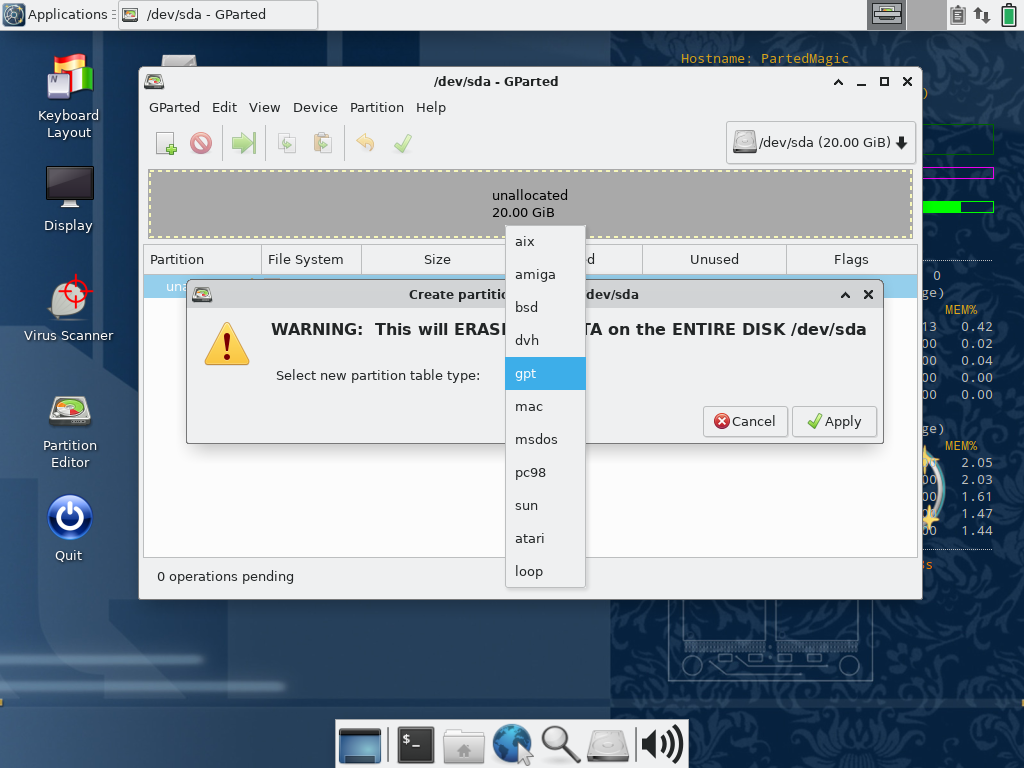
3 – Create a partitioning scheme
It is important to have a clear idea of what you want to do with your drives. For instance:
Partition Label | Size | File System | Flags | Mount Point |
|---|---|---|---|---|
Boot | 512MB | fat32 | esp, boot, /boot/efi | /boot/efi |
Swap | 16GB | linuxswap | swap | |
Root | 100GB | ext4 | root | / |
Home | 100GB | ext4 | /home | |
Work | 100GB | ext4 | /media/Work | |
Games | 100GB | ext4 | /media/Games |
Partitions Criteria
Having a separate partition for /boot/efi, /swap, /root, and /home is be a good idea. This way if you need to reinstall the OS, you can keep your data safe.
Boot: This partition is used to store the bootloader and the kernel. In most scenarios, a 512 MB partition is enough.
Swap: This partition is used to store the data that is not being used by the system. Different people have a different opinion on ideal swap size. Even the major Linux distributions don’t have the same swap size guideline.
If you go by Red Hat ’s suggestion, they recommend a swap size of 20% of RAM for modern systems (i.e., 4 GB or higher RAM).
CentOS has a different recommendation for the swap partition size. It suggests swap size to be:
Twice the size of RAM if RAM is less than 2 GB.
Size of RAM + 2 GB if RAM size is more than 2 GB i.e., 5 GB of swap for 3 GB of RAM.
Ubuntu has an entirely different perspective on the swap size as it takes hibernation into consideration. If you need hibernation, a swap of the size of RAM becomes necessary. Otherwise, it recommends:
If RAM is less than 1 GB, swap size should be at least the size of RAM and at most double the size of RAM.
If RAM is more than 1 GB, swap size should be at least equal to the square root of the RAM size and at most double the size of RAM.
If hibernation is used, swap size should be equal to the size of RAM plus the square root of the RAM size.
Ubuntu ’s recommendation is the most practical one as it takes hibernation into consideration. Here is a table that shows the recommended swap size for different RAM sizes:
RAM Size | Swap Size (Without Hibernation) | Swap size (With Hibernation) |
|---|---|---|
256MB | 256MB | 512MB |
512MB | 512MB | 1GB |
1GB | 1GB | 2GB |
2GB | 1GB | 3GB |
3GB | 2GB | 5GB |
4GB | 2GB | 6GB |
6GB | 2GB | 8GB |
8GB | 3GB | 11GB |
12GB | 3GB | 15GB |
16GB | 4GB | 20GB |
24GB | 5GB | 29GB |
32GB | 6GB | 38GB |
64GB | 8GB | 72GB |
128GB | 11GB | 139GB |
In my case I decided to follow the golden rule, my RAM is 32 GB, so I created a Swap Partition of 64 GB.
Root: This partition is used to store the OS. For most users having a partition of 60 GB is enough, but if you have a lot of software installed, you may need more space. In my case, my root partition is 120 GB.
Home: This partition is used to store your personal data. For most users having a partition of 40 GB is enough, but if you have a lot of personal data, you may need more space. In my case, my home partition is 200 GB.
Any Other Partition: Other partitions can be mounted in /media or /mnt. In my case, I created a partition for my work, games, and more. There are no restrictions on the size of these partitions.
4 – Format your drives
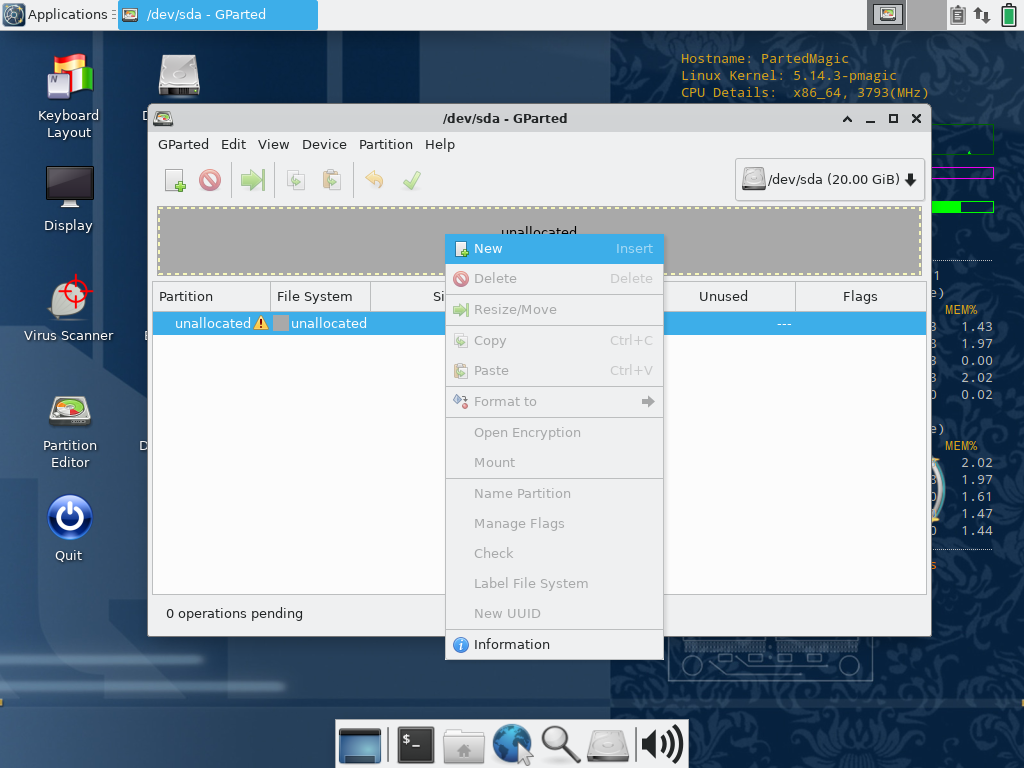
Once the partition table is created, and you have a well-defined partition scheme, you can start creating the partitions you need. In this example, I will create a new partition for the OS by right-clicking on the unallocated space and selecting New.
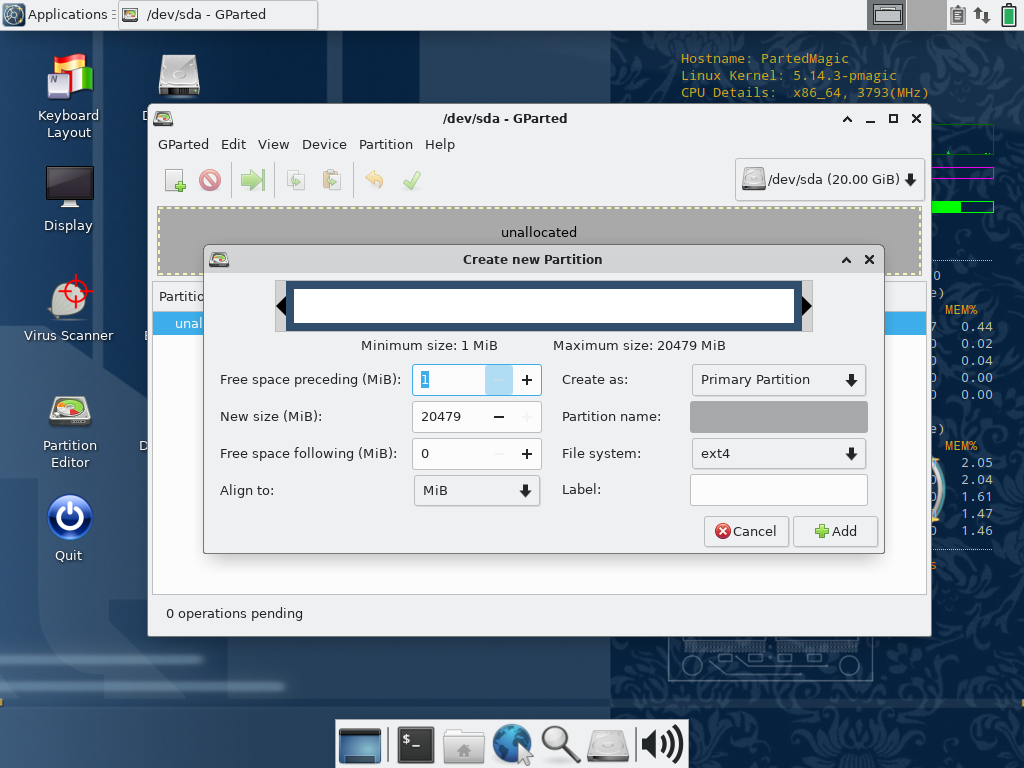
Fill the form with the information you need. You will have to set a value for New Size (MiB), then give it a Partition Name, select a File System, give it a Label and finally, click on Add.
5 – Install the OS
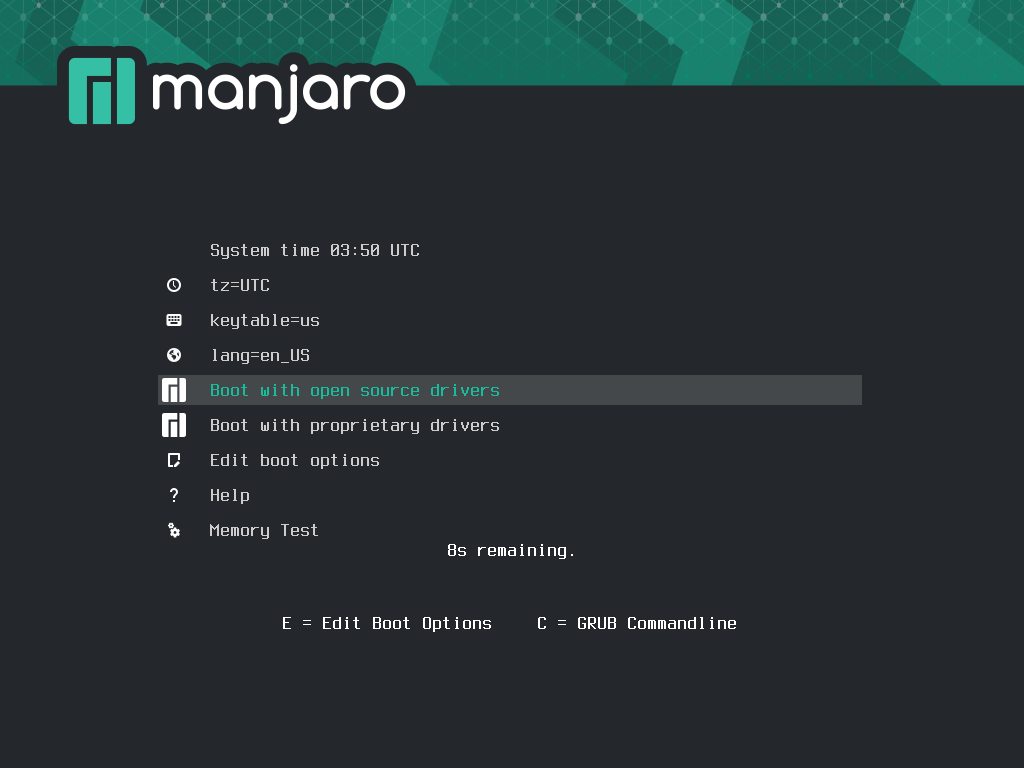
In this example, I will install Manjaro Linux. Install the OS in a thumb drive and boot up from it. The next screen capture shows the welcome screen. If your device has AMD processors, select the Open Source Drivers option. But if your device has Intel/Nvidia processors, select the Proprietary Drivers option.
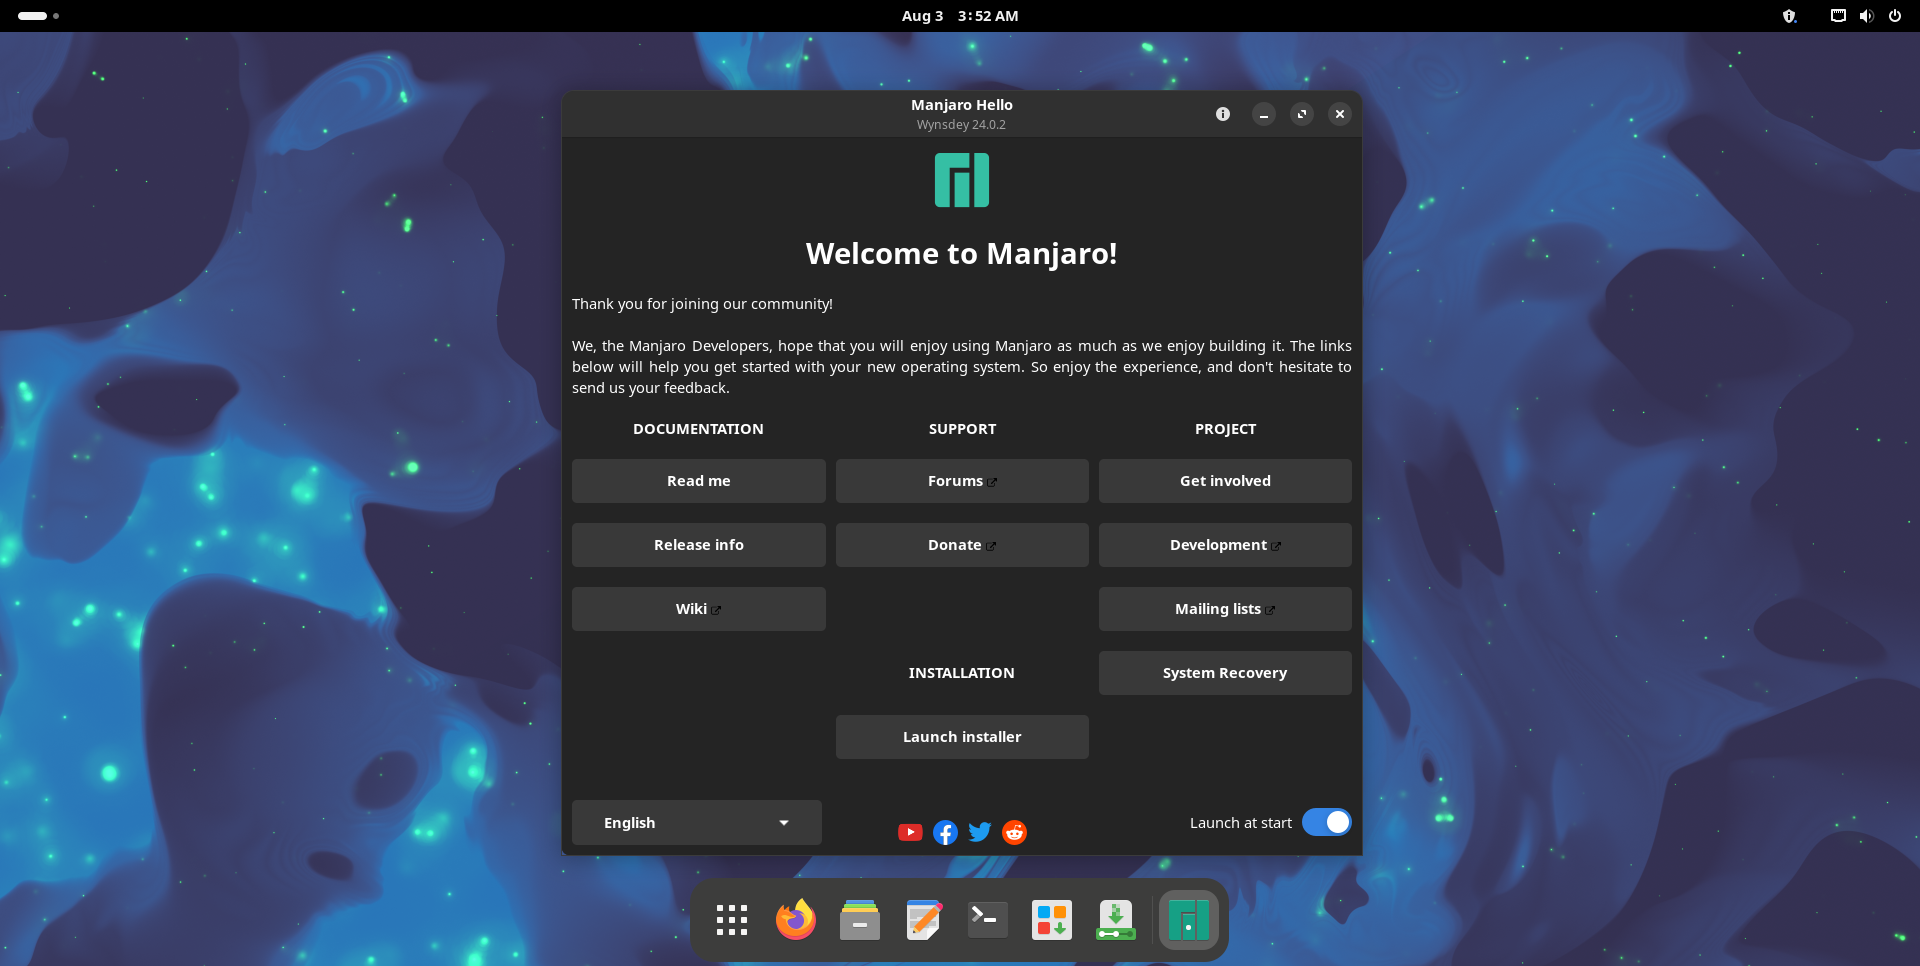
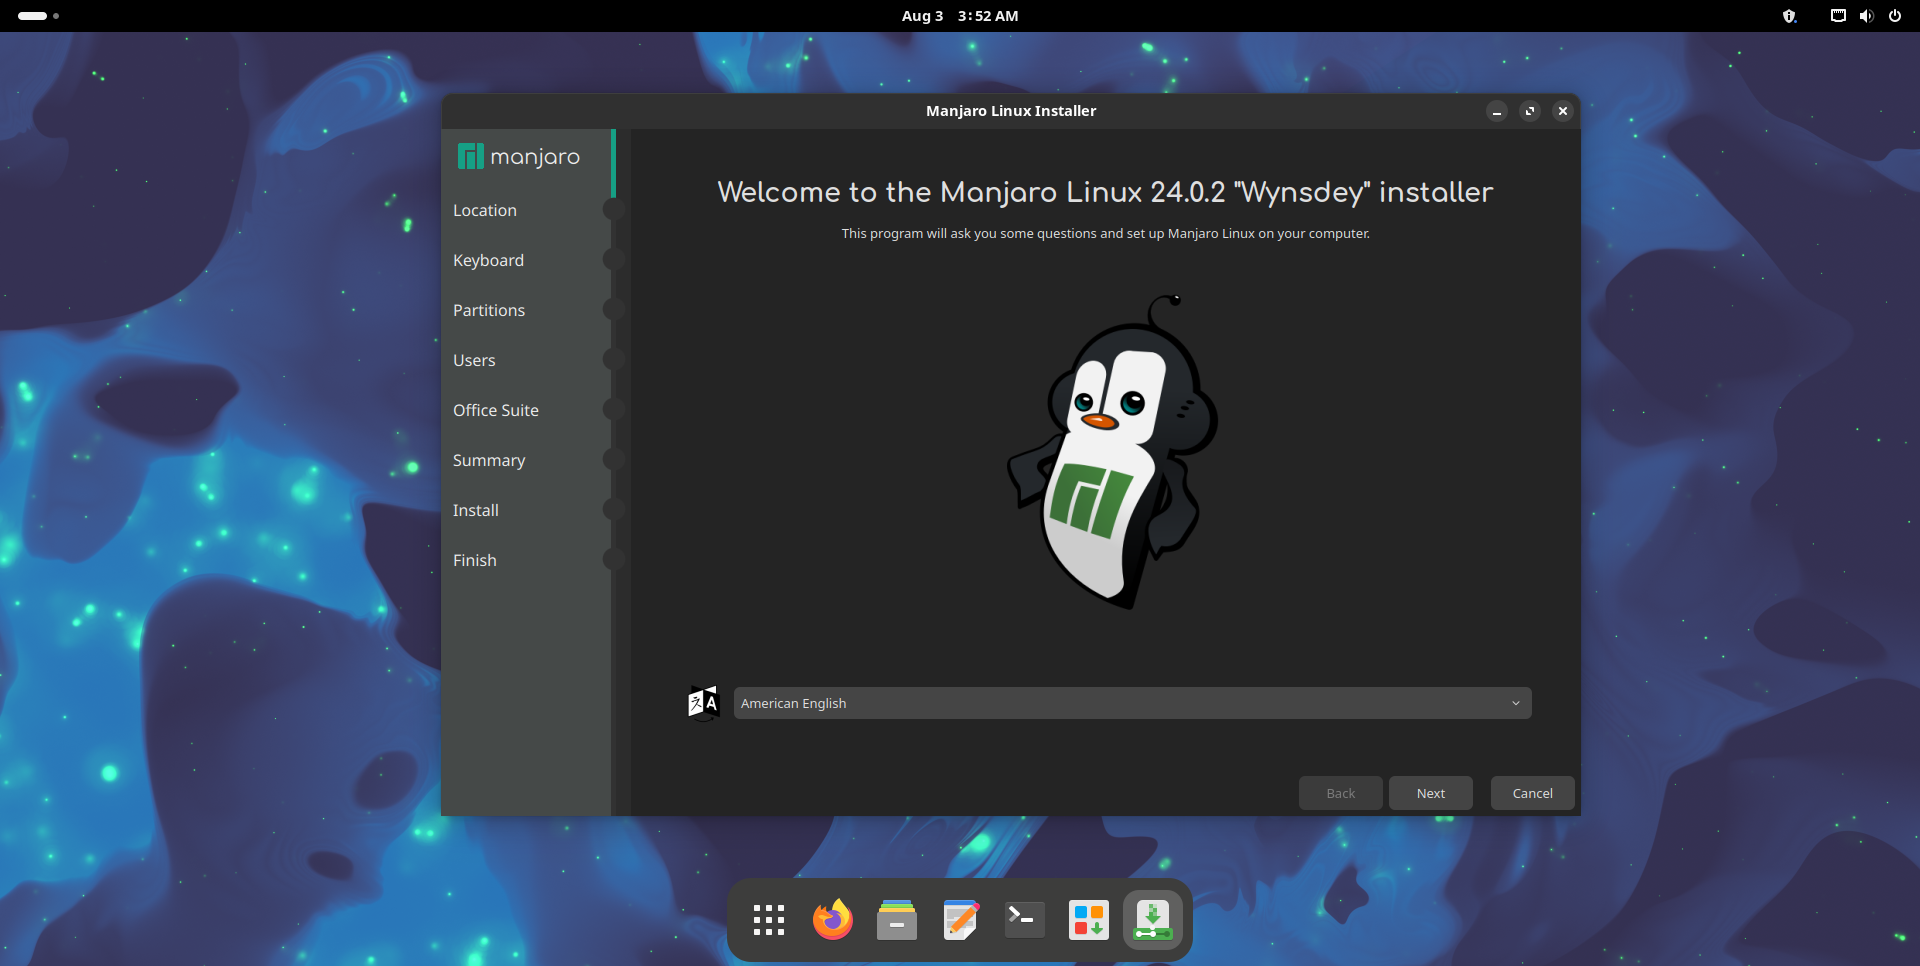
Once the OS is loaded, you will see the following screen. Click on Manjaro Linux Installer and select the OS language.
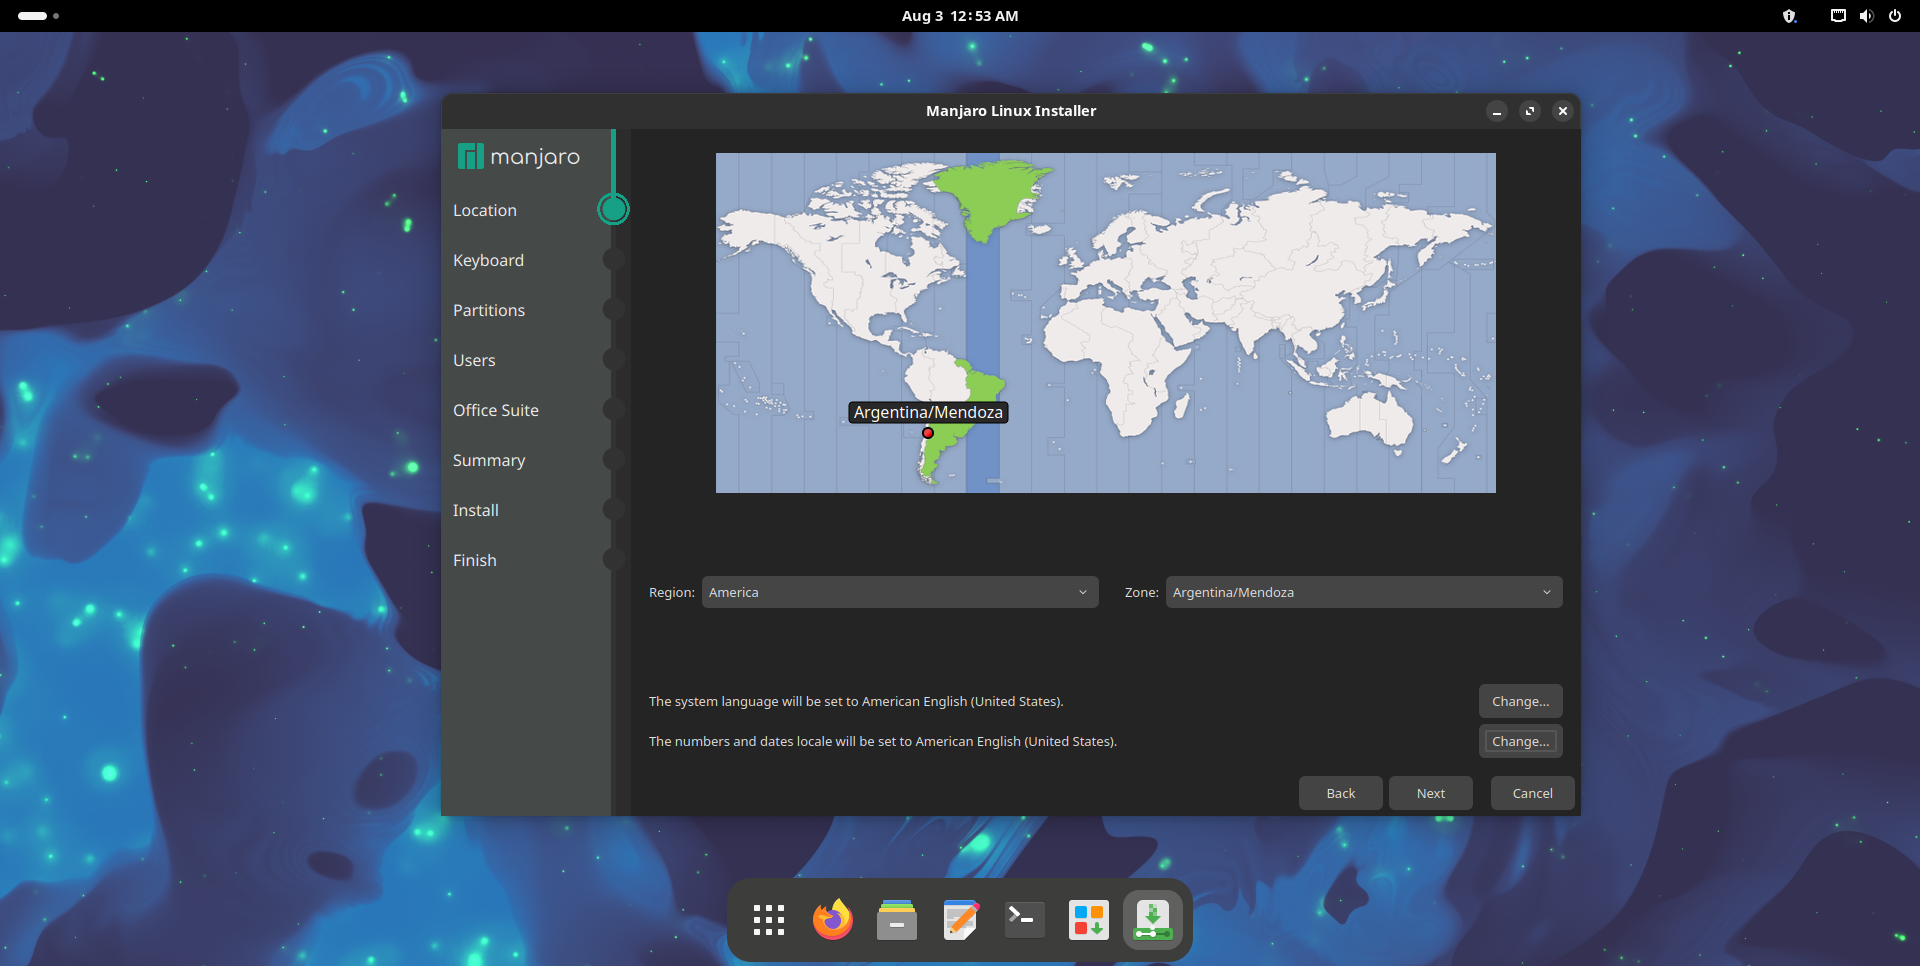
Select your region and encoding:
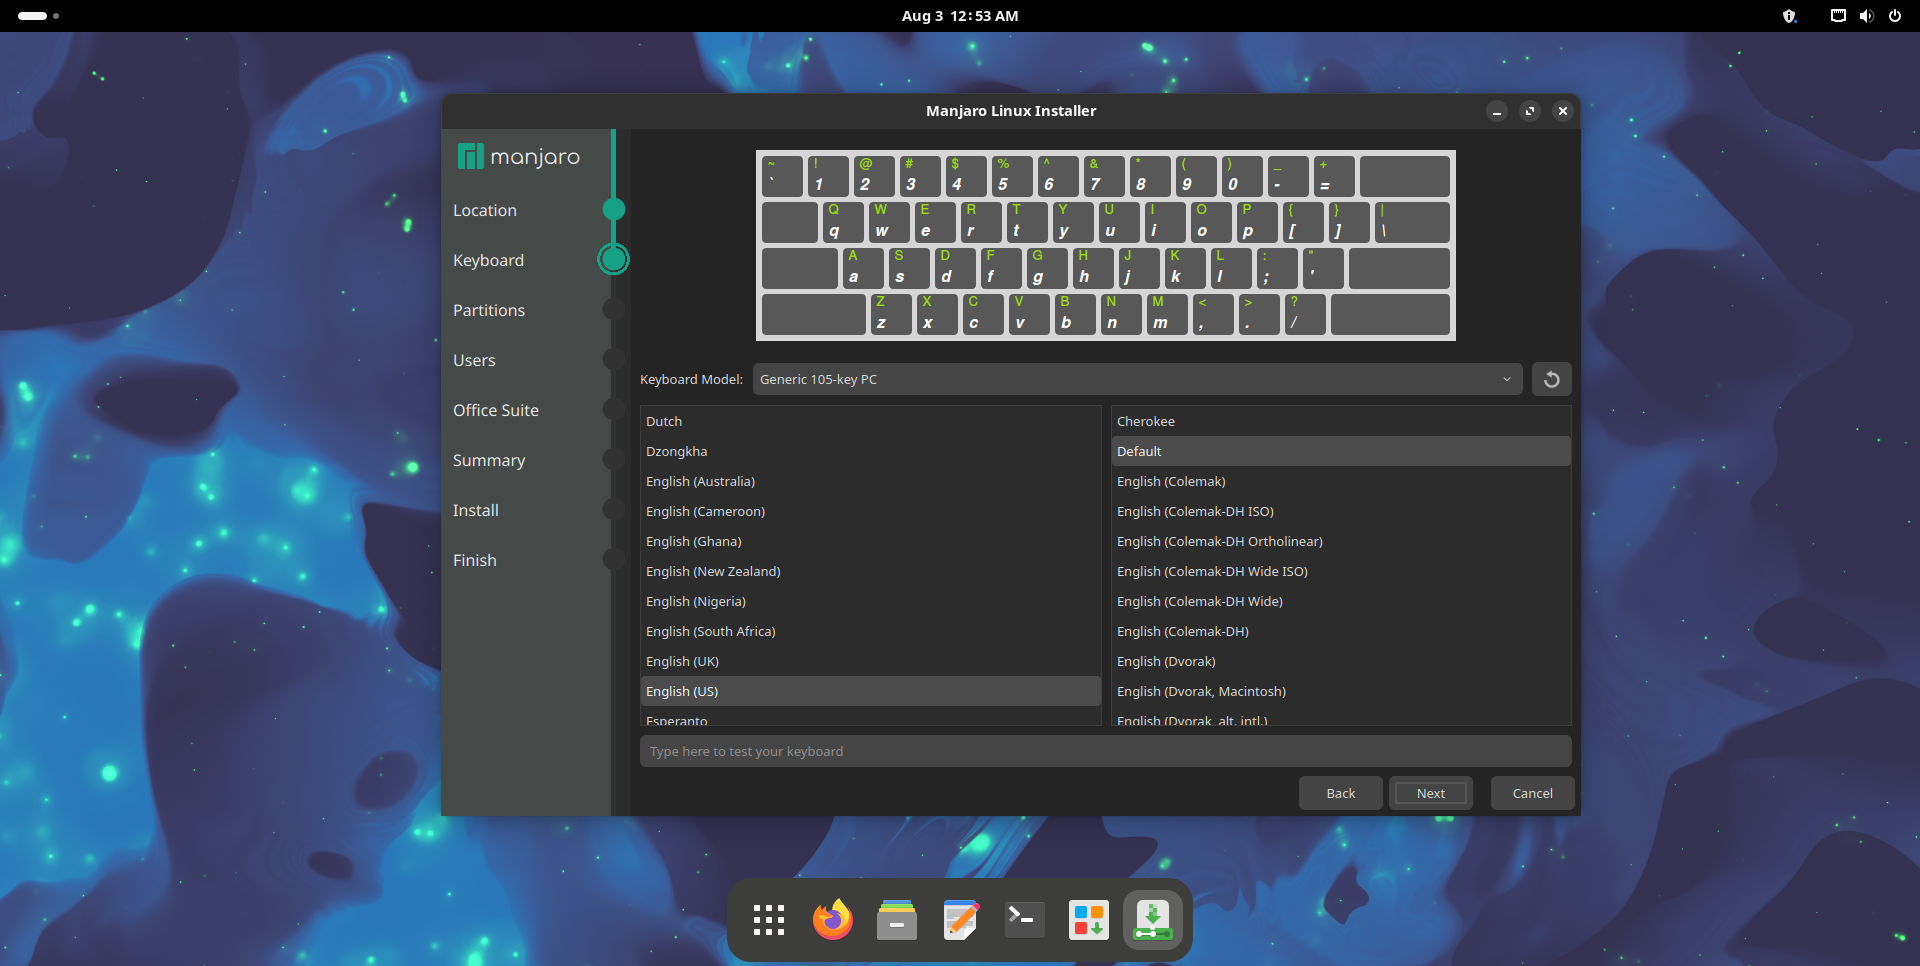
Select your keyboard layout, default settings are usually fine:
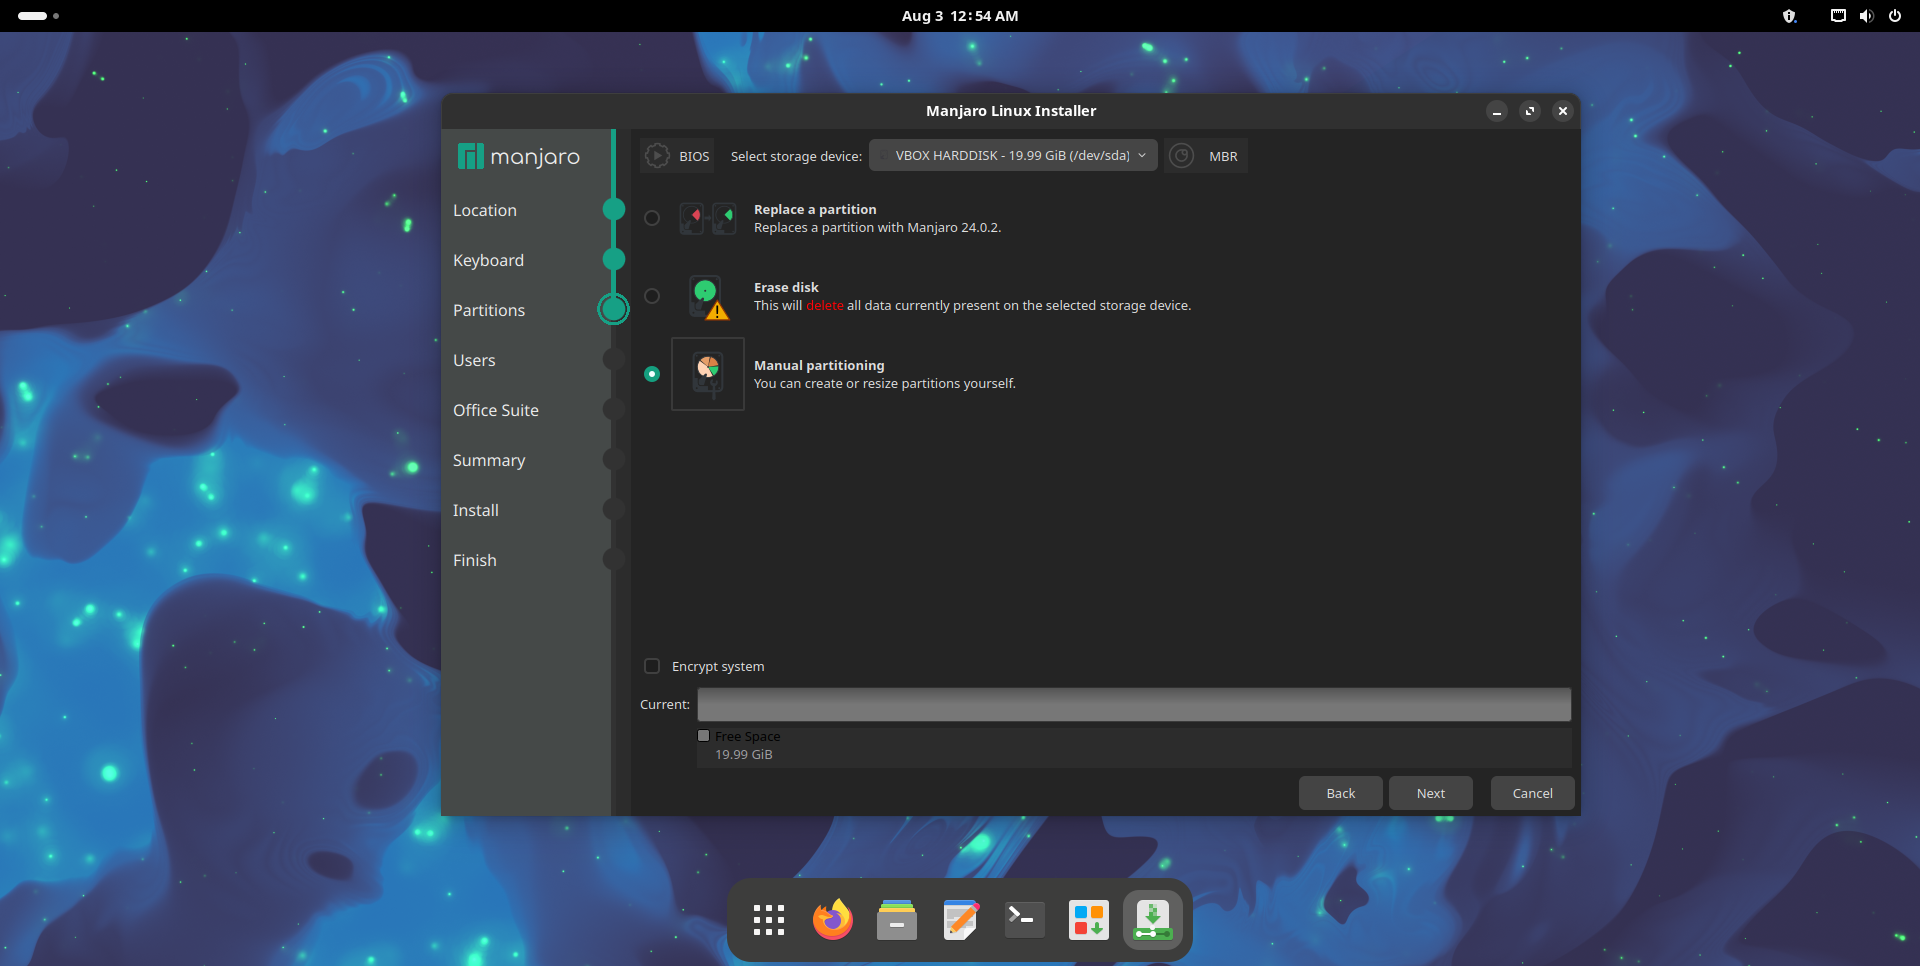
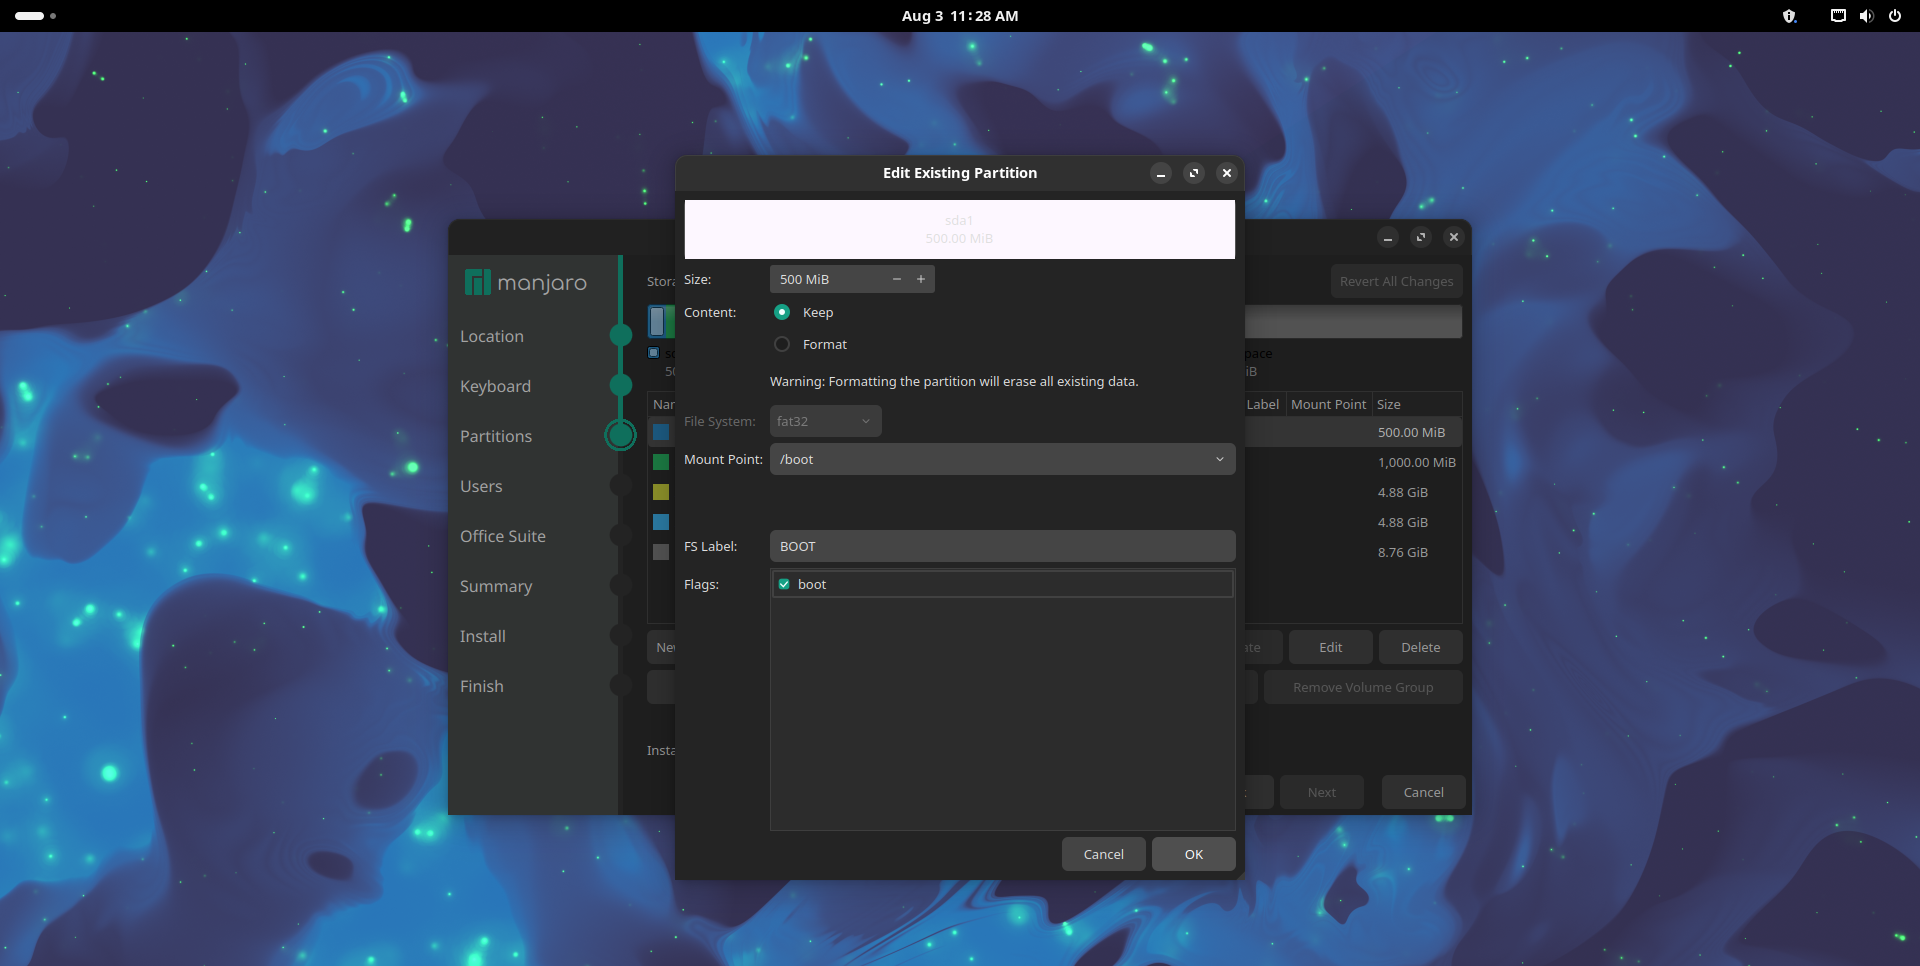
Now, select the Manual Partitioning option. Here, we’ll assign the partitions we created earlier with GParted a mount point, a flag, and a file system by clicking on the Edit button.
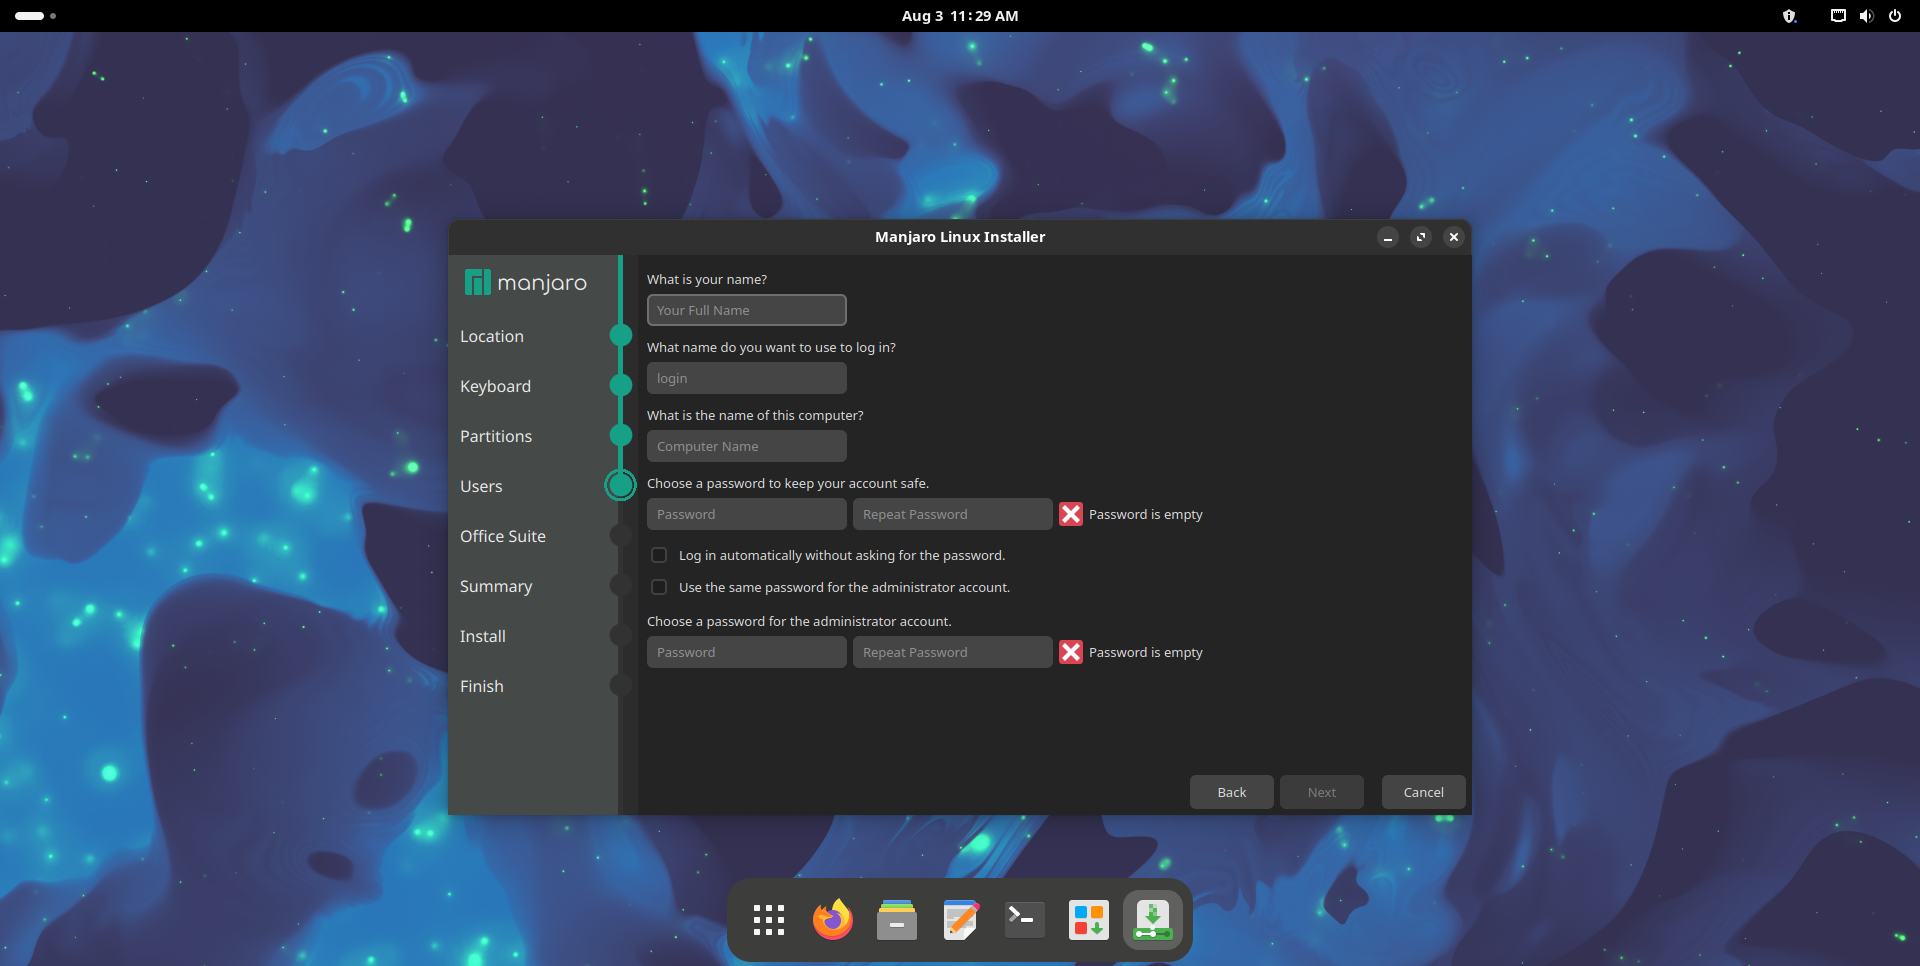
It is highly recommended to create a user account. Fill in the form with the information required. From top to bottom, in the first field you should type your Full Name, in the second field you type your Username, in the third field you type your Computer Name, and in the last two fields you have to type your Password.
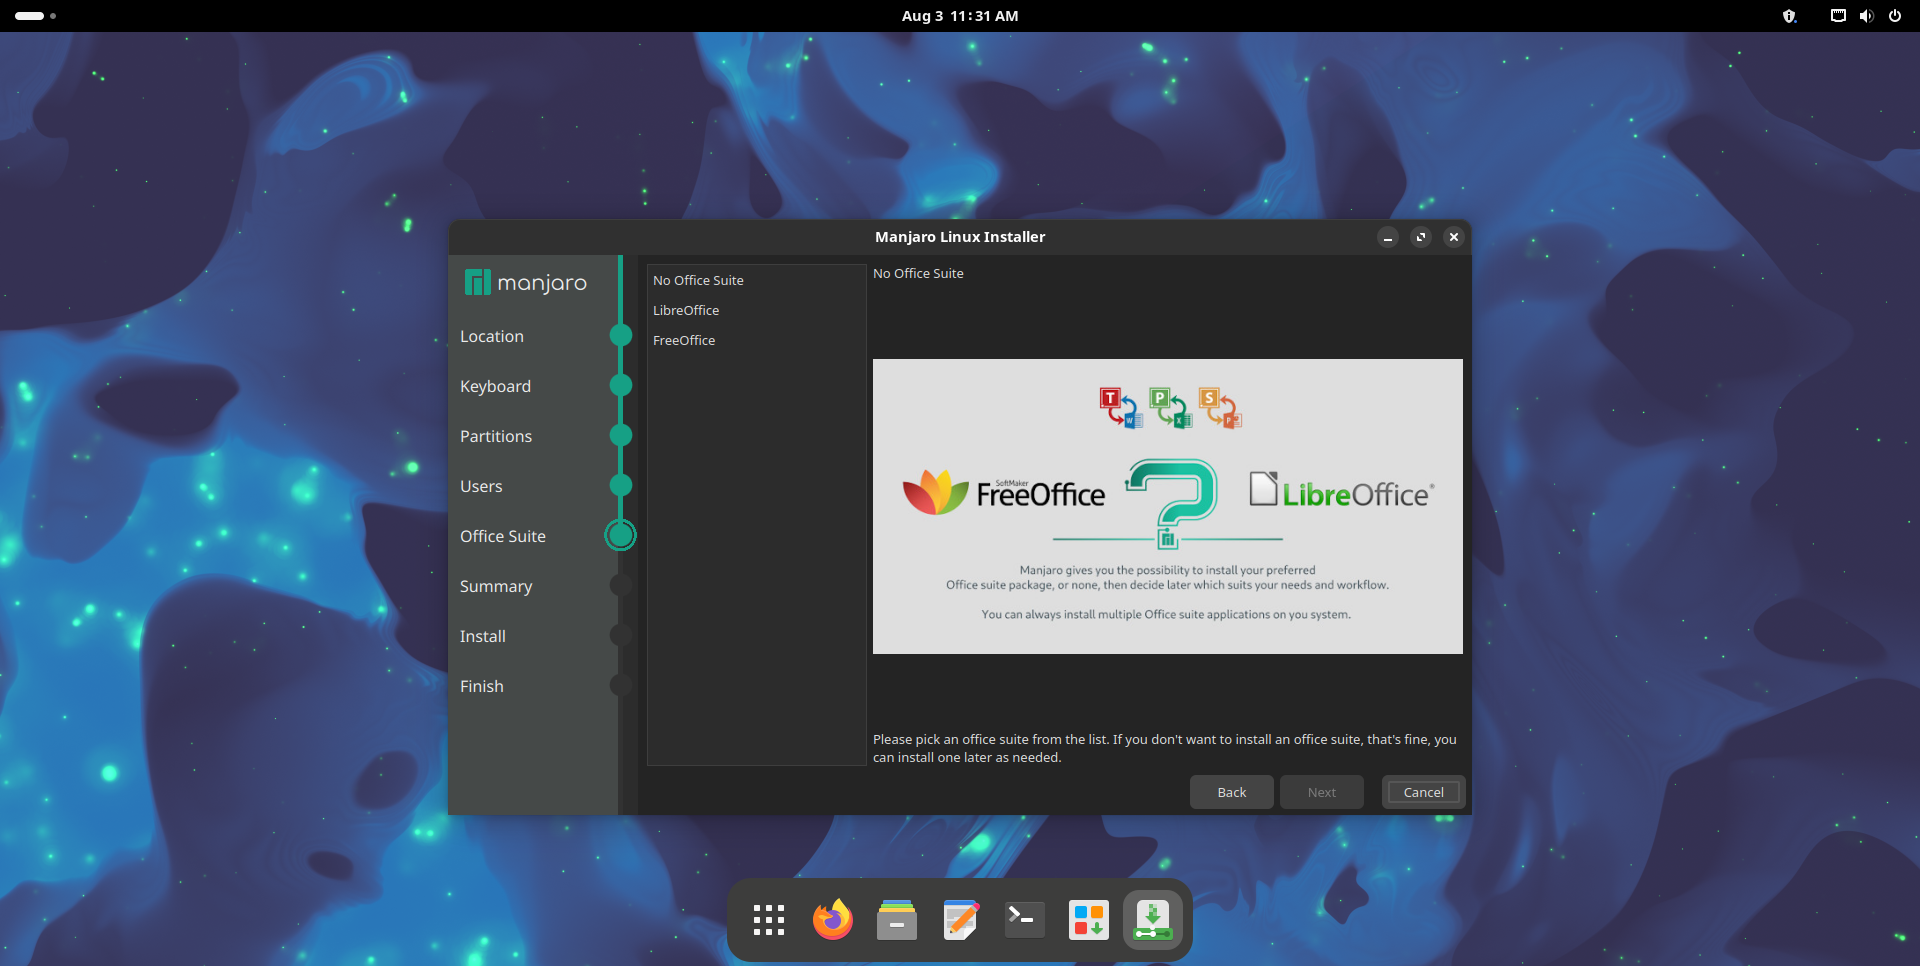
Select the Office Suite you want to install. In this example, I selected LibreOffice.
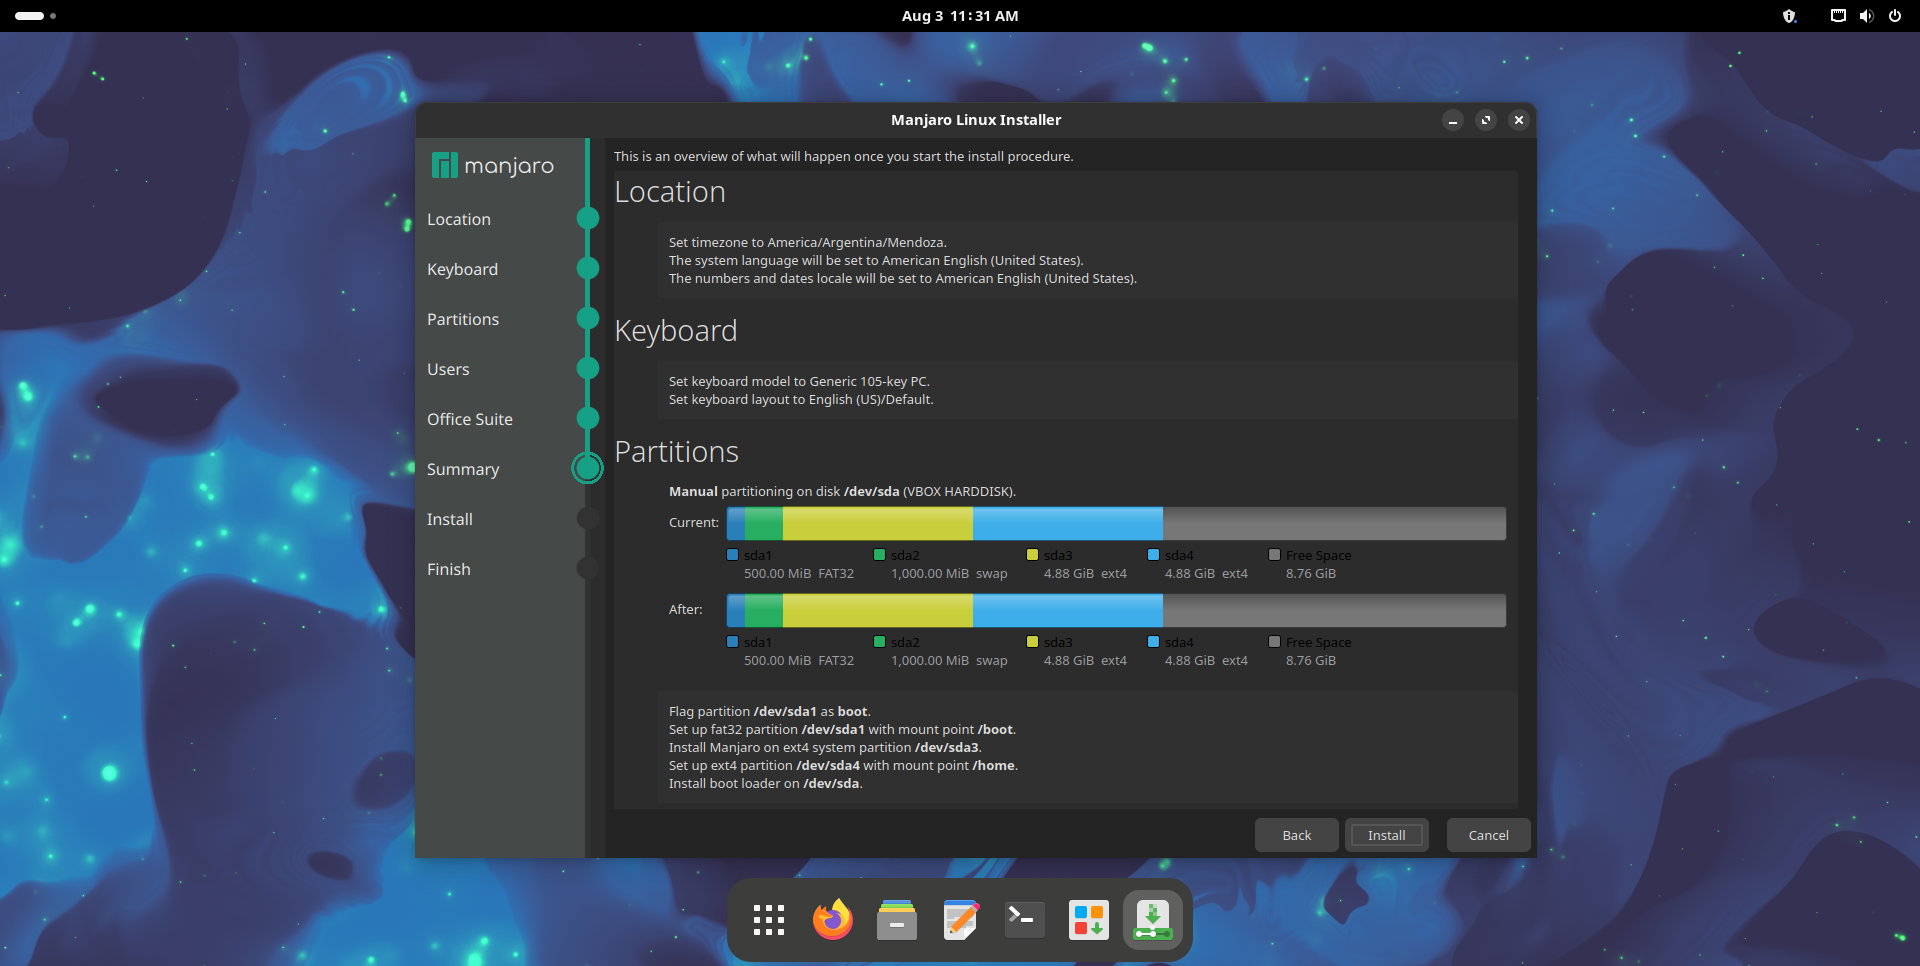
Review the installation summary, make sure everything is the way you want it to be, and click on Install.
Confirm the installation by clicking on Install Now.
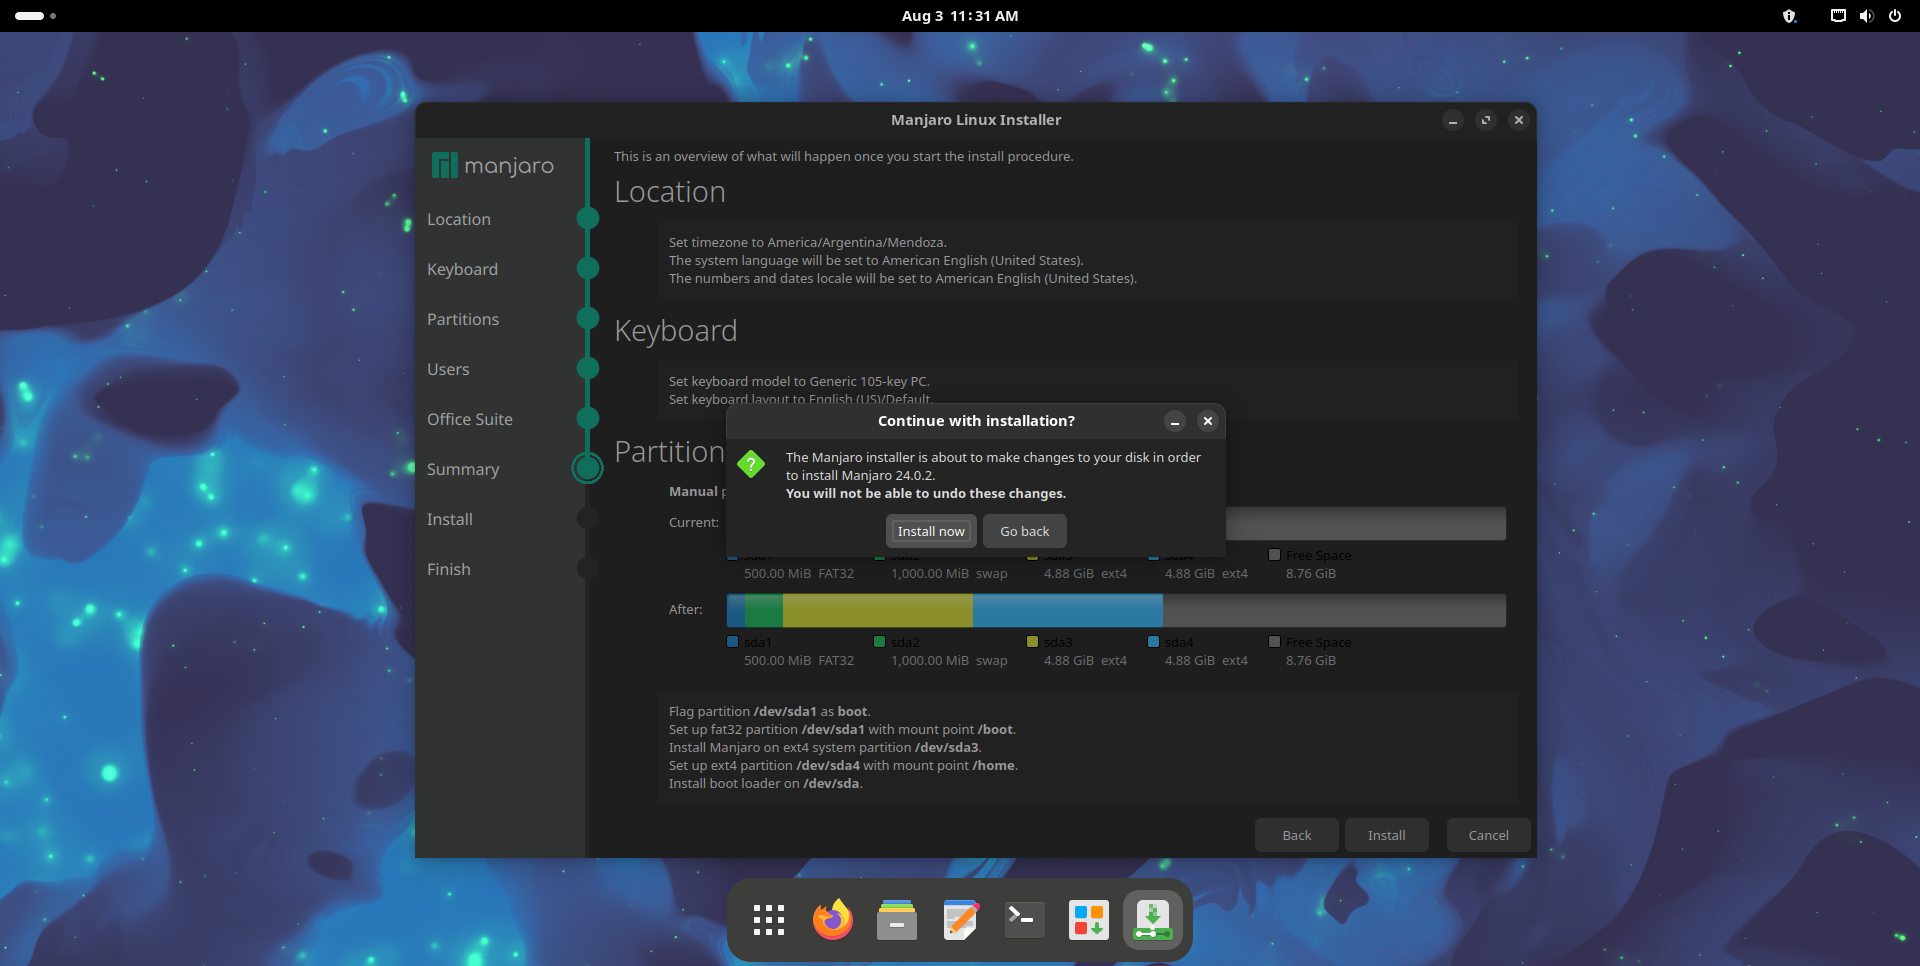
The installation process will start. It will take some time, so be patient. Once it is done, you can reboot and remove the thumb drive.
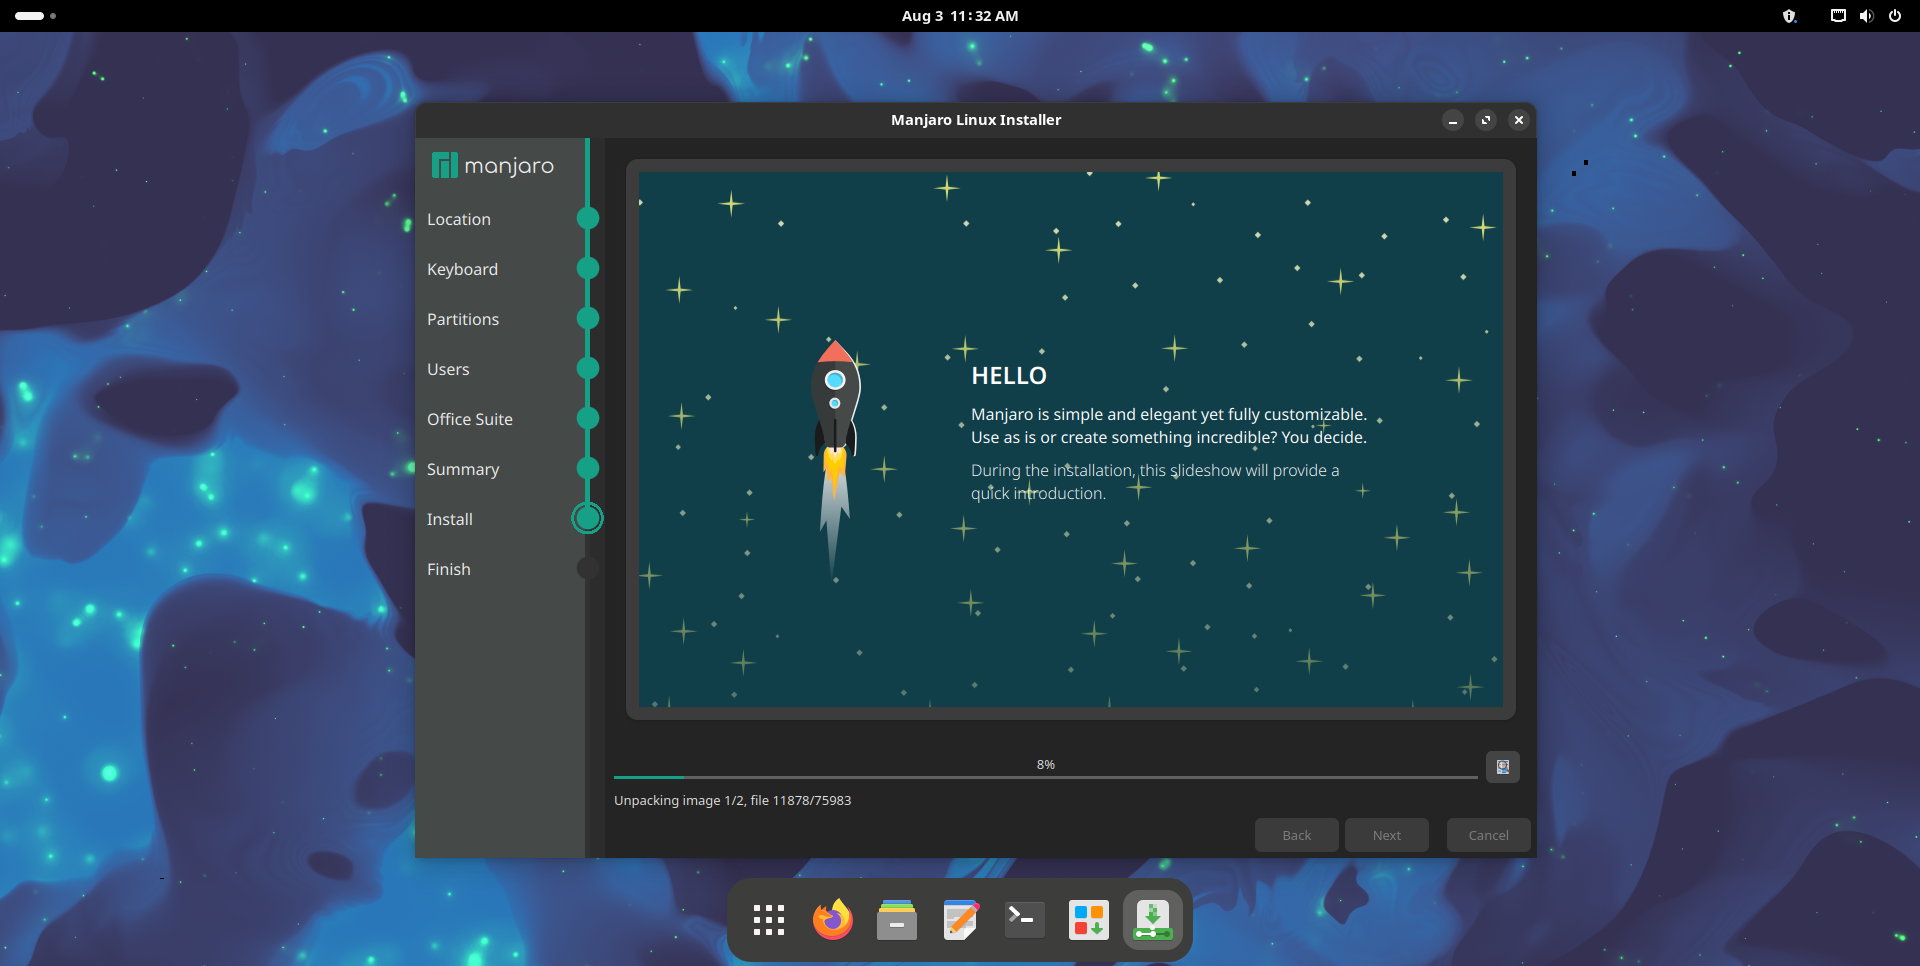
Congratulations! You have successfully installed Manjaro Linux.